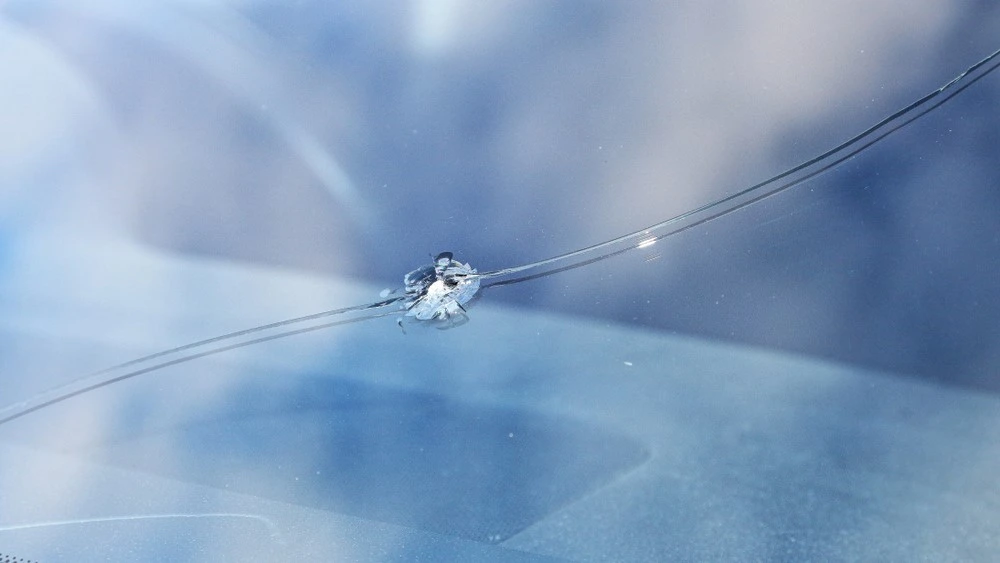
Small chips spread fast in our heat and stop-go traffic. Fix them early, you keep the crack from running, you keep visibility high, and you avoid a costly replacement. This guide shows you when a do-it-yourself repair makes sense, which kits to use, and the exact steps to get it done at home.
- Who should use a DIY windscreen kit?
- The best DIY windscreen repair kits in Malaysia
- What you need before you start
- Step-by-step: how to repair a windscreen chip
- Malaysia-specific tips that improve results
- Cost: DIY vs workshop vs replacement
- Common mistakes to avoid
- Frequently Asked Questions
- Simple troubleshooting table
- Final words
Who should use a DIY windscreen kit?
Use a kit if the damage is:
- A small chip or bullseye about the size of a 20 sen coin or smaller
- A short hairline crack that does not reach the edge
- Outside the driver’s main line of sight
Skip DIY and call a professional if you see:
- A long crack about the length of a credit card or more
- Damage that touches the edge of the glass
- Multiple cracks, or cracks that keep growing
- White haze, moisture, or dirt trapped inside the break
- Any damage in front of the driver’s eyes
DIY kits work by injecting resin into the break. The resin bonds the inner layers of laminated glass, which restores strength and improves clarity. A good repair stops the crack from spreading and makes the chip far less visible.
The best DIY windscreen repair kits in Malaysia
You asked for three clear picks at different price points. All three can handle small chips and short cracks. The main differences are build quality, resin clarity, and how easy the tool is to use.
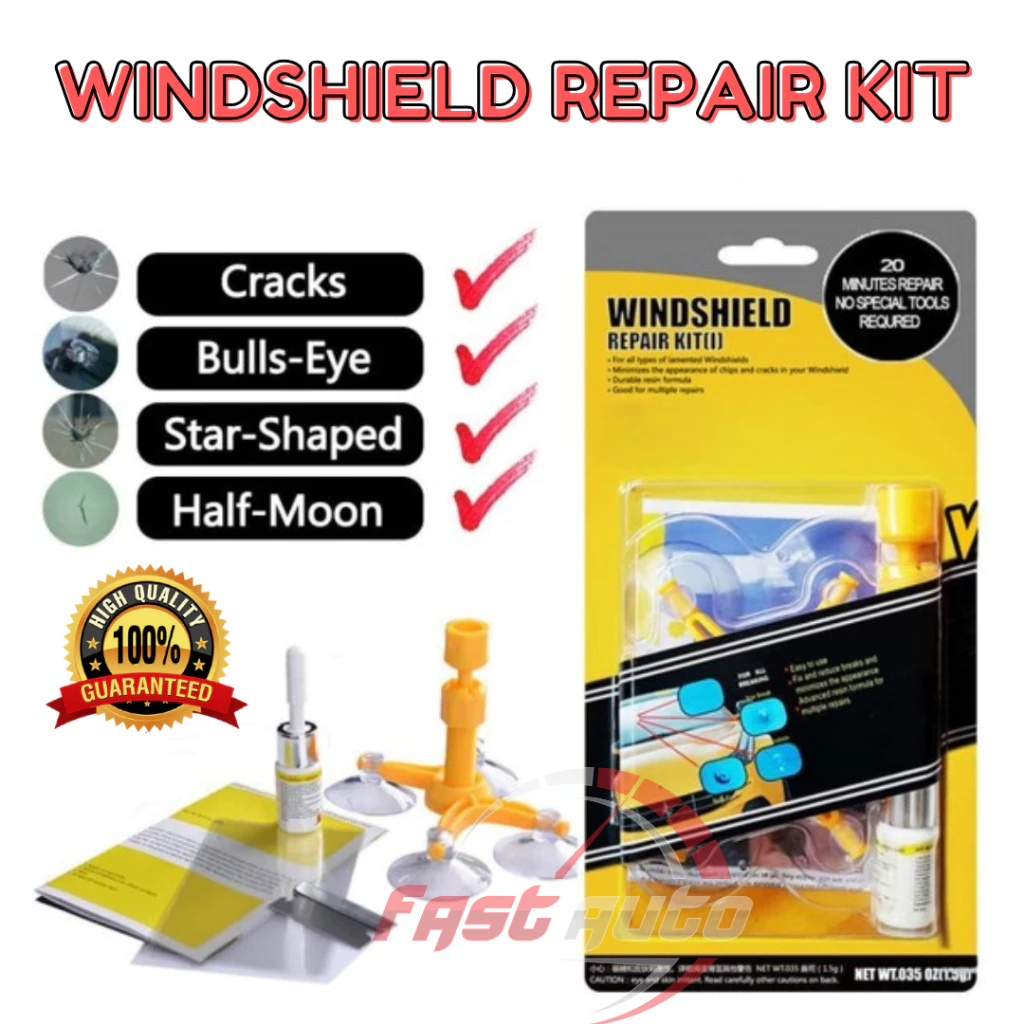
1) Budget pick: Generic Shopee kit
Good for a first try, or a spare in the glove box. Expect basic tools and a small resin tube.
- Buy on Shopee
- Pros: Cheapest option, simple setup
- Cons: Mixed quality control, smaller resin volume, basic instructions
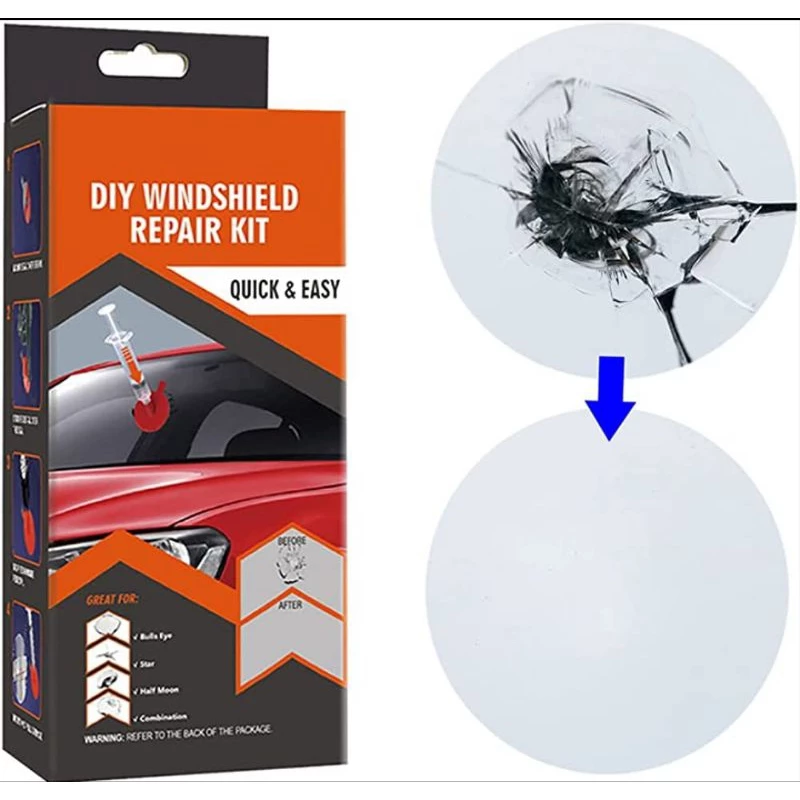
2) Mid-range pick: Visbella Windscreen Repair Kit
A popular kit with a better applicator and clearer instructions. Solid value for most users.
- Buy on Shopee
- Pros: Better bridge tool, steady suction cups, decent resin clarity
- Cons: Still not as refined as name-brand options
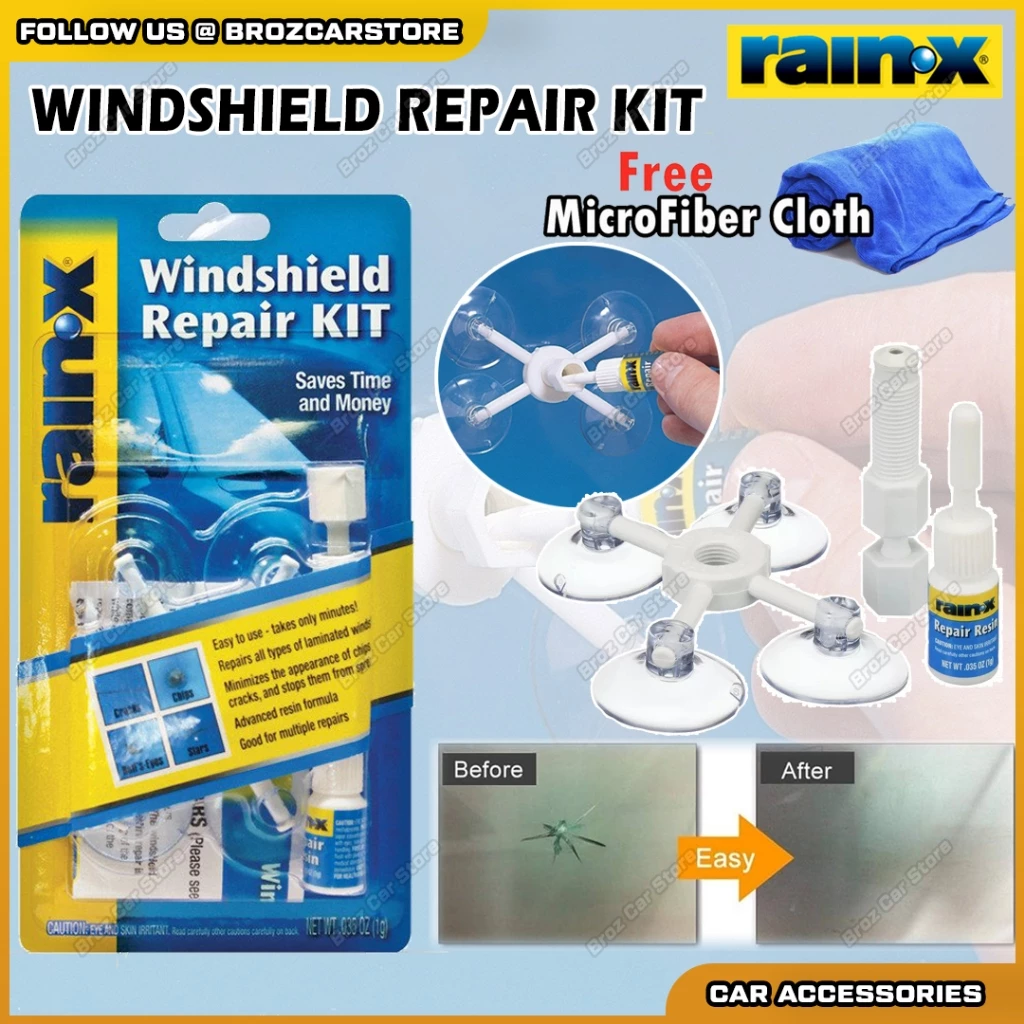
3) Name-brand pick: Rain-X Windshield Repair Kit
A trusted brand with consistent resin quality. Good choice if you want a cleaner finish.
- Buy on Shopee
- Pros: Reliable, clearer finish when used right
- Cons: Highest price of the three
Quick comparison
| Feature | Budget Shopee Kit | Visbella Kit | Rain-X Kit |
|---|---|---|---|
| Price | ~RM7.50 | ~RM23.90 | ~RM80.50 |
| Resin Quality | Basic | Good | Very good |
| Tool Quality | Basic | Good | Very good |
| Best for | One-off quick fix | Most DIY users | Best finish and ease of use |
What you need before you start
- A windscreen repair kit from the list above
- Microfiber cloths
- Glass cleaner or isopropyl alcohol
- A razor blade or craft blade
- A pin or safety needle to clear loose glass
- Clear curing film, usually included in the kit
- Sunlight for UV curing, or a small UV lamp
Work on a cool, dry windscreen. Park in the shade or indoors. Aim for a clean surface and stable temperature.
Step-by-step: how to repair a windscreen chip
Follow these steps with any of the kits mentioned. Read your kit’s leaflet first, then use the steps below as a simple checklist.
- Clean and dry the glass
Wash the area with glass cleaner. Dry it with a clean microfiber cloth. Do not use household detergents that leave residue. - Remove loose shards
Use a pin to lift any loose glass from the pit. Hold the pin upright and work gently, you do not want to widen the chip. - Position the applicator
Most kits use a suction-cup bridge and a threaded injector. Center the injector over the chip. Press the suction cups down to lock it in place. - Load the resin
Add the recommended drops to the injector. Do not overfill. A little extra can spill and cause streaks. - Apply pressure
Turn the injector to push resin into the chip. Watch for air bubbles to escape. Many kits ask you to cycle pressure: apply pressure, release to let air out, then re-pressurize. Do this two or three times. - Check the fill
From inside the car, look at the chip. If it still looks white or silvery, it needs more resin or more pressure cycles. Take your time, a full fill gives the best result. - Cure the resin
Remove the bridge tool as directed. Place a drop of finishing resin on the pit, lay a curing film over it, and smooth it flat. Move the car into sunlight, then cure for 10 to 30 minutes. A UV lamp also works. - Scrape flush
Peel off the film. Hold a razor blade flat and scrape the cured resin until it is level with the glass. Use short strokes. The surface should feel smooth under your fingernail. - Inspect and repeat if needed
If a faint mark remains, repeat the finishing step with a tiny drop of resin and a new film. Cure, then scrape again.
Most repairs take 30 to 45 minutes. The chip often becomes hard to notice, and the repair stops cracks from spreading.
Malaysia-specific tips that improve results
- Heat and humidity: Do the repair in the morning or in a shaded car park. Very hot glass can cause resin to thin too much, very humid air can trap moisture.
- After rain: Make sure the chip is dry. Use a hair dryer on low, keep it moving to avoid heat spots, then let the glass cool before you inject.
- Tinted windscreens: The tint sits in the laminate and does not affect the resin bond. Keep resin off the tint strip at the top if your chip is near that area, wipe spills at once.
- Ceramic coatings: Resin does not bond to coatings. Clean well so the injector seals to bare glass. If the glass is coated, use alcohol to prep the small work area.
Cost: DIY vs workshop vs replacement
| Option | Typical Cost | When it makes sense | Pros | Cons |
|---|---|---|---|---|
| DIY kit | RM7 to RM80 | Small fresh chips and short hairline cracks | Lowest cost, fast, you control the process | Finish quality depends on your technique |
| Professional repair | RM120 to RM250 | Deeper chips, star breaks, small cracks near wipers | Strong tools, trained tech, better finish | Higher cost, needs an appointment |
| Full replacement | RM800 to RM2,500+ | Large cracks, edge cracks, ADAS camera zones | Brand new glass, full clarity | Highest cost, car stays off the road during work |
Common mistakes to avoid
- Working on hot glass in direct sun: heat thins the resin, lets it leak from the pit, and makes air expand inside the chip, so move the car into shade and wait until the glass feels cool to the touch.
- Skipping a proper clean and dry: dust, road film, or moisture block the resin from reaching the break, so wipe with isopropyl alcohol, dry with a clean microfiber, and make sure the pit is bone dry before you start.
- Misaligning the injector: if the nozzle is not centered on the impact point, resin will pool on the surface and the chip will stay white, so take an extra moment to sight the bullseye from inside and outside before locking the bridge.
- Overfilling the injector: too much resin floods the area and traps bubbles, so follow the kit’s drop count and watch the pit, not the glass around it, then wipe any excess before curing.
- Not cycling pressure: air pockets weaken the repair and leave a cloudy spot, so apply pressure, release to vent air, and re-pressurize two or three times, gently tapping the glass around the chip to help bubbles rise.
- Rushing the UV cure: under-cured resin stays soft and smears under the blade, so give it the full time in direct sunlight or under a UV lamp until the curing film lifts cleanly.
- Scraping at an angle: a tilted blade digs into the glass and leaves ridges, so hold the razor flat to the surface and use short, shallow strokes with a sharp edge.
- Starting while the chip is wet from rain or washing: water inside the break turns the resin cloudy and weak, so use a hair dryer on low to dry the pit, then let the glass cool before injecting.
- Using household glass cleaners with additives: products that leave wax or fragrance create a barrier on the glass, so prep with alcohol or an automotive glass cleaner that leaves no residue.
- Touching the pit or curing film with bare fingers: skin oils contaminate the surface and reduce clarity, so handle edges only and keep films and the injector tip clean.
- Removing the bridge too early: pressure release before the pit is filled lets air re-enter the break, so confirm the chip has darkened uniformly before you take the tool off.
- Reusing scratched curing films: old films imprint lines into the finish, so use a fresh piece of curing film for each application of finishing resin.
- Ignoring crack type and location: edge cracks and long runs will not hold a DIY repair, so stop and book a professional if the damage reaches the glass edge or sits in the driver’s line of sight.
- Driving off without a final check: a quick inspection prevents surprises, so look from inside the cabin for any bright spots, repeat the finishing drop if needed, and only then hit the road.
Frequently Asked Questions
Simple troubleshooting table
| Problem | Likely Cause | Fix |
|---|---|---|
| White spot remains | Air still in the chip | Cycle pressure again, add a small amount of resin |
| Resin leaks from injector | Poor seal, surface not clean | Clean with alcohol, re-seat the suction cups and seal |
| Sticky surface after curing | Not fully cured, weak sun | Give it more UV time, or use a small UV lamp |
| Visible ridge after scraping | Blade not flat | Hold blade flat, use gentle, short strokes |
Final words
A small chip today can become a long crack next week. With a simple kit and careful prep, you can stop the damage and keep your view clear. Start with a clean screen, work in the shade, take your time with resin and curing, and you will get a solid result. Want to protect your car at home? Check out our DIY Ceramic Coating Guide.
